Key takeaways
- Identify the face, core and attachment method before judging a panel by its photograph.
- Keep required wall layers unless the proposed replacement is documented for that wall system.
- An ASTM E84 result and an ASTM E119 wall-assembly result answer different fire questions.
- Compare usable coverage and the complete installation scope rather than sheet price alone.
Choosing a decorative panel before checking the wall behind it can waste materials and installation work when the finish cannot be fitted as planned. Start with the room conditions and the backing, then choose a facing with a documented attachment method.
For interior wall cladding, separate three decisions: what remains in the wall, what the visible facing is made from, and how that facing is attached. A wood-grain face may cover timber, a wood-based core or a polymer profile; a large sheet may be an overlay rather than a wall lining that replaces gypsum board. Use the room’s exposure and the product instructions to narrow the options. Then compare the whole installed scope, including preparation and edge details. This guide helps you build that shortlist; it does not provide a universal fixing schedule.
Quick specs: what should you establish first?
Record the information below before selecting a finish. The input is a drawing, a condition check or a product document, rather than an assumed “typical” value. Start with the building-material selection sequence if the wall’s basic constraints are still unknown.
Scroll horizontally to view all columns.
| Input or item | Value or source to record | Why it matters |
|---|---|---|
| Room and wall position | Your room plan and intended cleaning/exposure | Separates a dry feature wall from splash or shower conditions |
| Existing wall | A condition survey and available wall drawings | Identifies the lining or backing you intend to retain |
| Visible face and core | Product description and an exposed-edge sample | Distinguishes solid wood, veneer, wood-based sheet and polymer |
| Panel format | Actual dimensions and usable coverage from the supplier | Determines seams, cuts and handling |
| Attachment | The selected product’s installation instructions | Distinguishes bonded facing from battens or support rails |
| Fire documentation | Project requirements and matching product/system reports | Separates surface burning from wall fire resistance |
| Composite-wood documentation | Applicable product label and supplier records | Identifies covered MDF, particleboard or hardwood plywood |
Takeaway: Make the shortlist from recorded wall conditions and product documents, then compare appearance.
Which panel formats belong on the shortlist?
Separate material from format. Planks, slats, sheets and wainscoting describe the layout; they do not identify the core or prove a performance claim. The table below is a document-checking aid: it tells you what to establish for each candidate, rather than awarding a winner to a whole material category.
Scroll horizontally to view all columns.
| Facing or format | What to establish | Useful next check |
|---|---|---|
| Solid timber boards | Wood species, profile and finish | Product-specific preparation, support and movement instructions |
| Wood veneer panels | Veneer face and the named backing/core | Exposed cut-edge appearance, joint detail and applicable composite-wood documentation |
| Painted wood-based sheets or molding strips | Whether the core is MDF, particleboard or plywood | Edge treatment, finish system and intended room exposure |
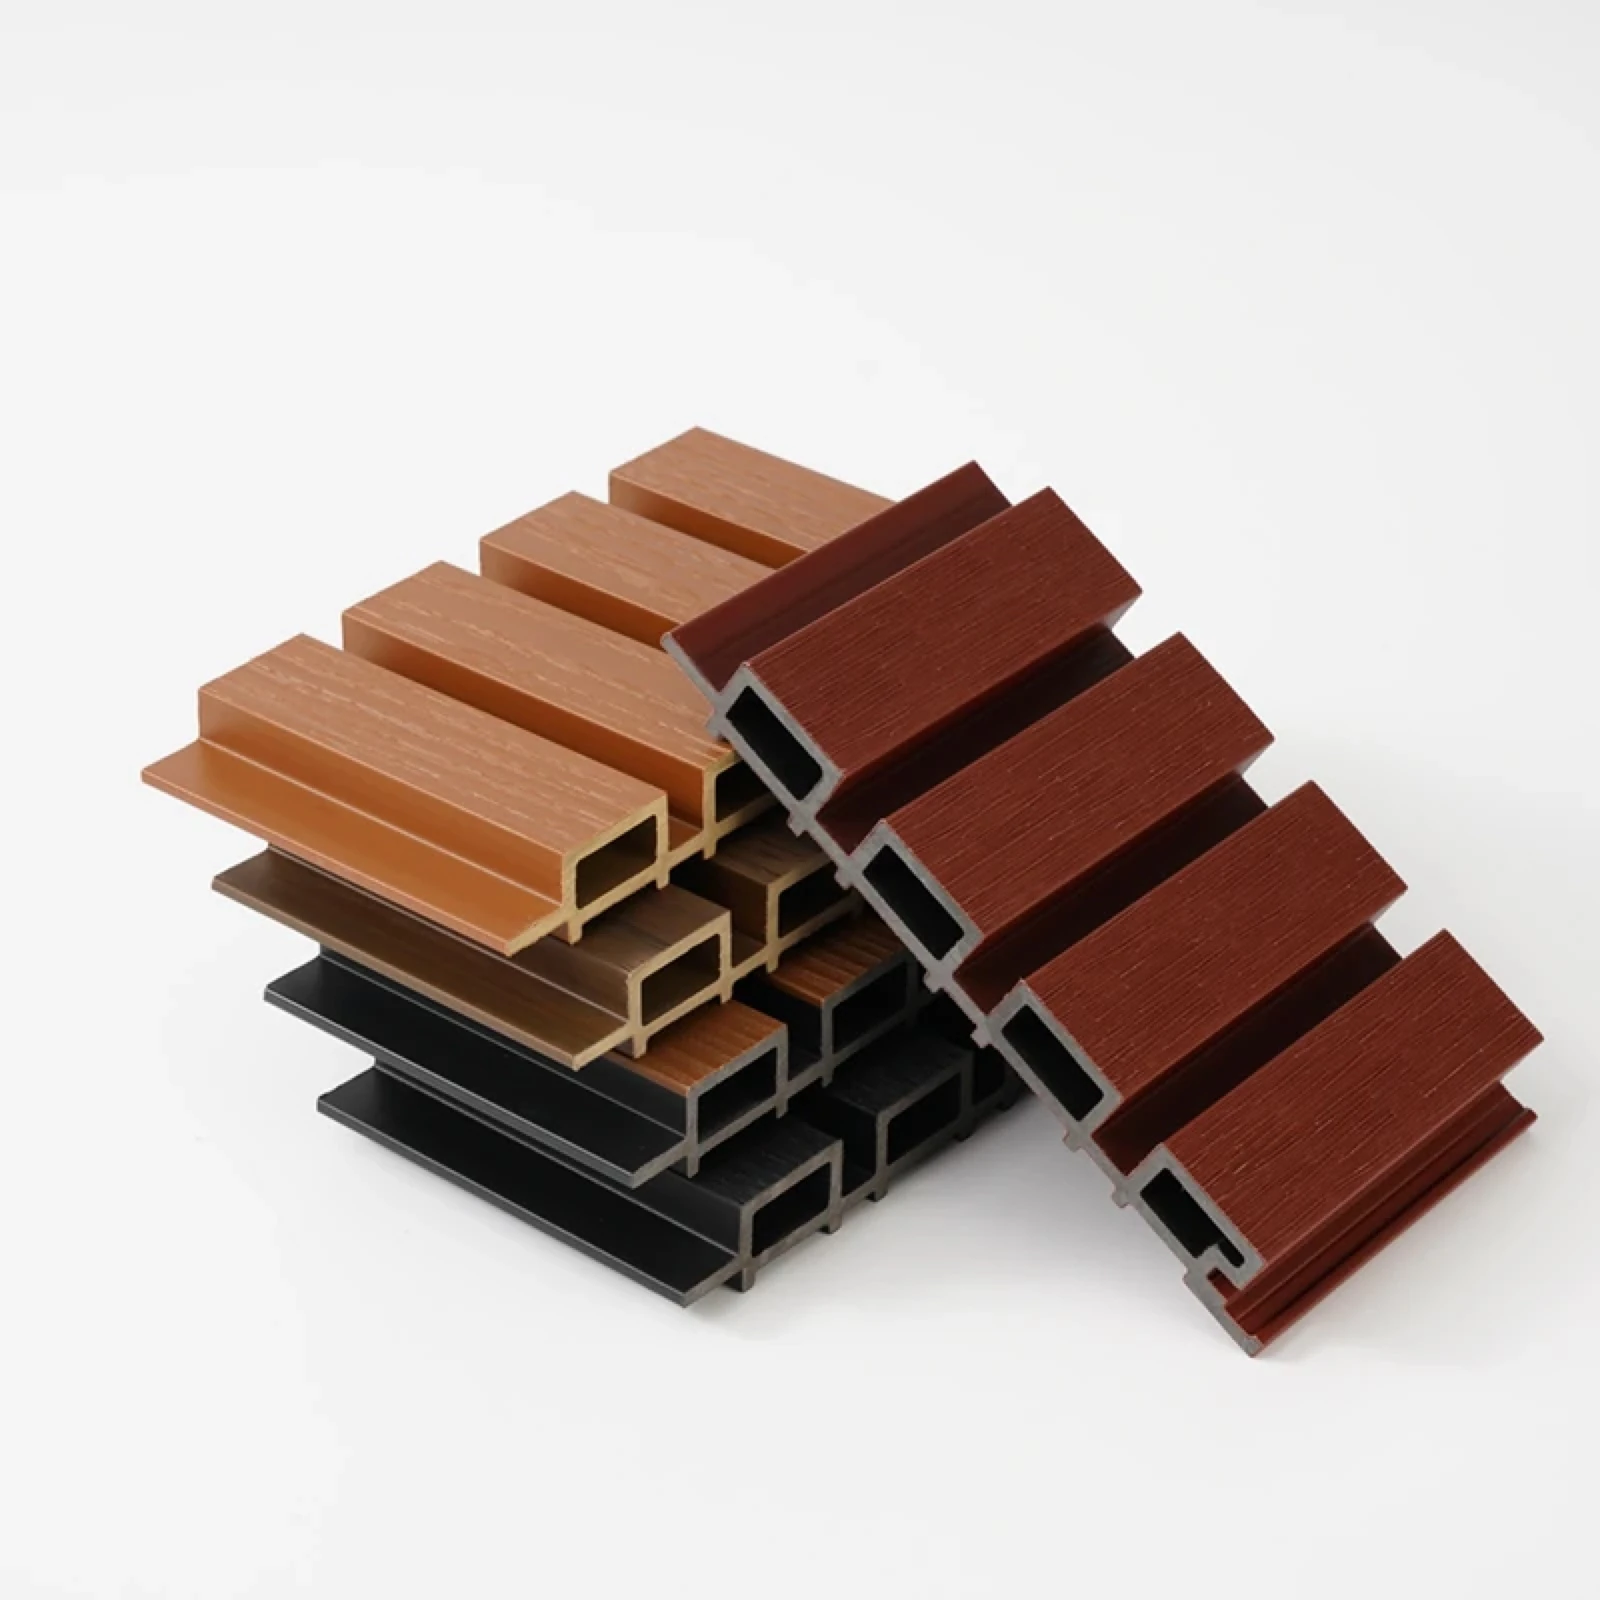
| Slatted feature panels | Whether the slats are solid, veneered or wood-look | Backing and mounting; an acoustic report if sound absorption matters |
| Rigid plastic sheets or profiles | The polymer, sheet/profile construction and intended use | Bonding or mechanical fixing, joints and cleaning instructions |
| Compact high-pressure laminate (HPL) panels | The actual compact panel product and support system | Subframe, fastening and edge details in its technical documents |
| Stone, porcelain or other mineral facing | Actual product, format and complete attachment system | Supporting wall, adhesive/support compatibility and termination details |
The cited compact HPL specification describes its product as layers of resin-impregnated cellulose with decorative surface layers. This is a construction example from that document, not a claim about every laminate or its wet-area or fire performance. Check the actual panel and support system together.
For a composite wood-look option, the WPC wall-panel guide covers its separate evidence and movement questions. If the visual reference is timber outdoors, use the wood-cladding guide to recognize the different exterior task; its wall details are not automatically interior instructions.
Decorative wood: inspect the core, not just the face
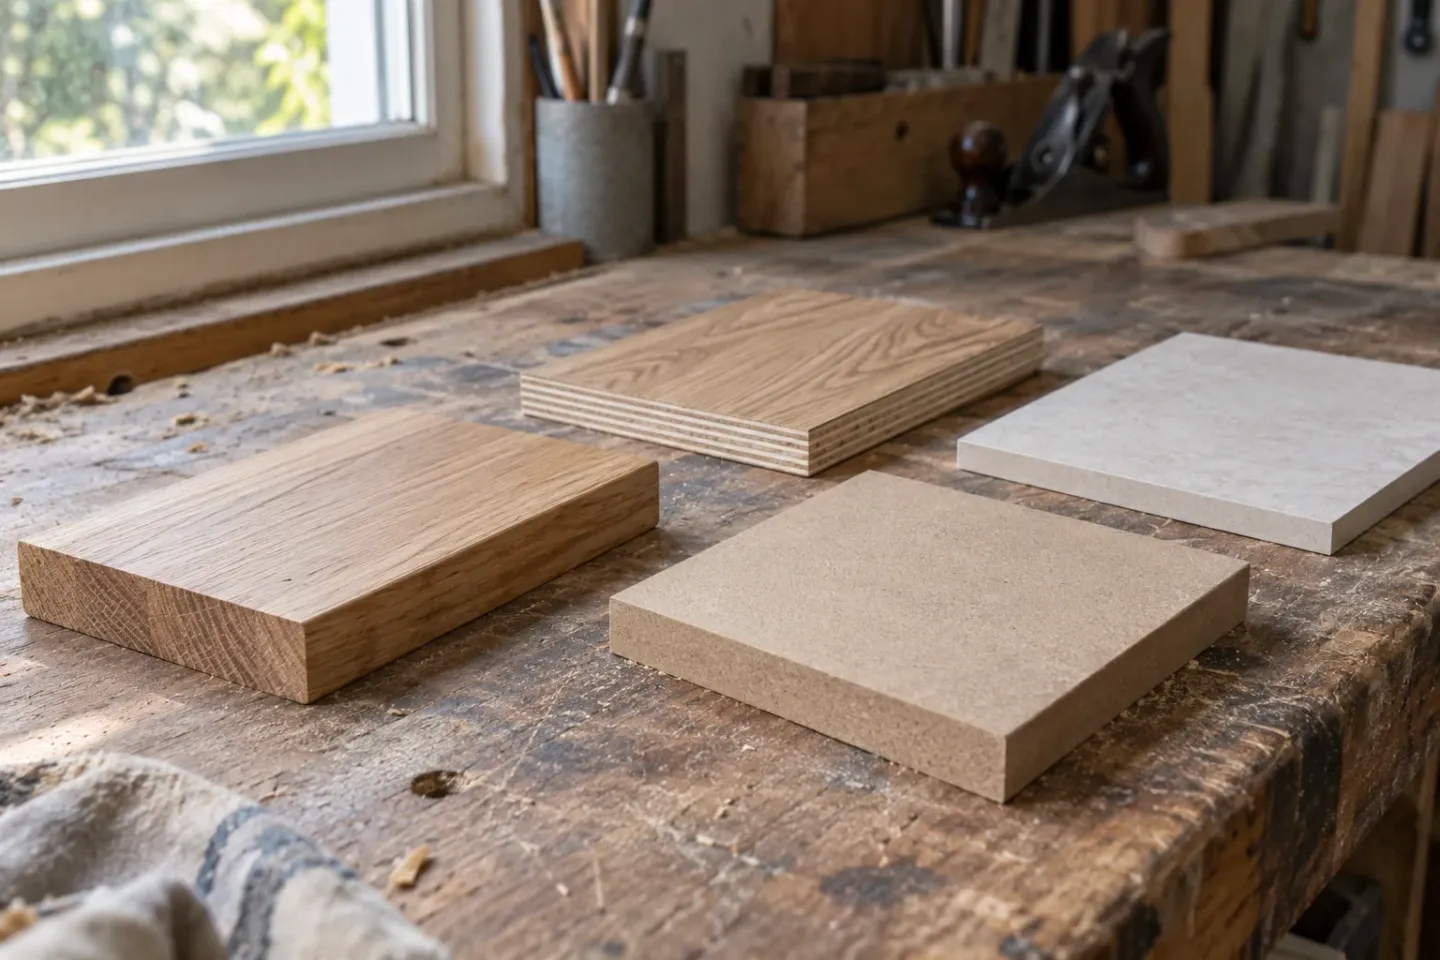
The EPA’s consumer guidance distinguishes hardwood plywood, MDF and particleboard as regulated composite-wood categories. That matters when a decorative wood panel contains one of those cores. “Wood panel” alone is too imprecise for the purchase record.
Ask to see the exposed edge and the product description together. For veneer, decide how a cut edge will be concealed or finished. For a painted sheet, include preparation and edge finishing in the installation scope. For solid boards, obtain the selected profile’s movement and fixing instructions. Choose the construction that meets the brief rather than treating all wood-look products as substitutes.
Takeaway: A format describes the pattern on the wall; the face, core and mounting documents describe the product you can evaluate.
How do wall panels differ from drywall?
Drywall and decorative wall facing can occupy different positions in the same build-up. A gypsum lining may form the finished painted surface or remain behind another finish. Before removing it, establish whether it belongs to a specified wall system and whether the proposed alternative is documented for that role.
The gypsum installation and finishing guide describes panels attached to framing and joints finished with tape and compound. The wall-protection manufacturer’s guidance instead describes a rigid sheet facing and treats the underlying wall as a separate input. These are different installation tasks.
Scroll horizontally to view all columns.
| Question | Gypsum lining | Added decorative or protective facing |
|---|---|---|
| What is its role? | A panel lining installed as specified for the wall | An exposed finish with its own attachment requirements |
| What happens at joints? | The cited guide describes taped and compounded joints | Use the selected system’s seam, trim or reveal detail |
| What supports it? | Framing or backing specified for the gypsum installation | An accepted surface, battens or support system named in its instructions |
| Can it replace another layer? | Check the wall design and specified panel type | Establish replacement suitability rather than assuming it from appearance |
| What fire evidence is relevant? | The wall assembly and its required design | The exposed finish, plus compatibility with the wall it covers |
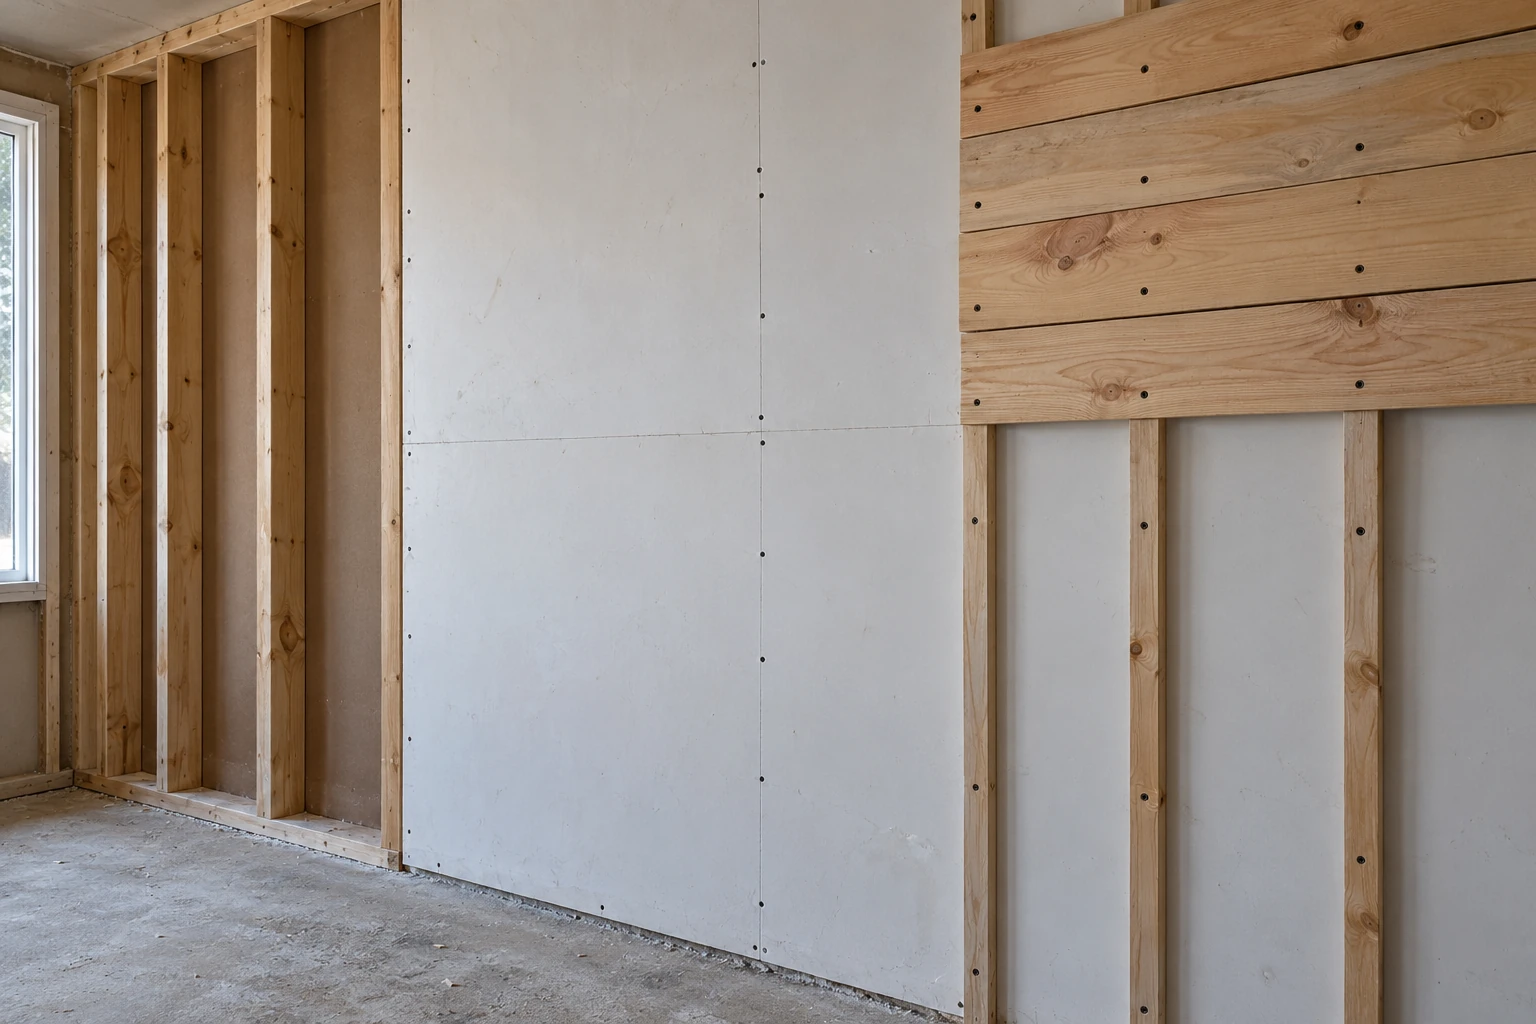
A proposal to keep the existing board and add a facing differs from a proposal to strip the wall and replace its lining. Ask the installer to describe which proposal is priced. For a broader comparison of materials and their roles, see types of building materials.
Takeaway: Compare the proposed wall build-ups before comparing the two visible finishes.
Which backing matches the fixing route?
Read the attachment instructions before buying adhesive, battens or sheets. Product documents illustrate distinct routes, and none of the examples below establishes a universal base for all panels. Your useful output is a description of the backing to retain or prepare, the support to add, and the named installation document.
Scroll horizontally to view all columns.
| Documented route | Source example and backing check | What to resolve on your wall |
|---|---|---|
| Timber boards on battens | The cited interior-timber guidance describes tongue-and-groove fixing to battens after wall preparation | Exact board instructions, batten attachment and which wall layers remain |
| Adhesive-applied rigid vinyl | The cited wall-protection guidance discusses moisture behind its sheet products and in adhesive air pockets | Accepted backing and surface preparation; adhesive compatibility and seams |
| Compact HPL with a support system | The wall-lining guide specification calls for checking substrate, framing and wall alignment before proceeding | Selected system details, support capacity and coordination at edges/openings |
| Adhered or supported mineral facing | Obtain the selected material-and-attachment system documents | Backing acceptance, supported weight, bonding/support method and movement joints |
The timber guidance calls for addressing damp patches and projecting nails before installing its cladding. The HPL specification calls for resolving improper framing or walls out of plumb. Treat these as reasons to inspect the existing wall, rather than promises that facing will correct it.
For mineral options, the porcelain-slab guide and thin-stone-veneer guide help identify the next material-specific questions. Do not borrow the bonded-plastic method for either material.
Takeaway: Select the attachment route and accepted backing as a pair; a decorative face does not define either.
How should the room change the choice?
Write down what the finished wall needs to do. A dry living-room feature, a scuff-prone lower wall and a surface cleaned frequently have different briefs. Use those briefs to request relevant documents and samples. The following matrix organizes questions to ask; it does not assert that a material category passes them.
Scroll horizontally to view all columns.
| Room task | Shortlist question | Evidence or sample to request |
|---|---|---|
| Living-room feature | Do the texture, joints and edge treatment suit the room? | A face-and-edge sample viewed in the room’s light |
| Wainscoting or hallway protection | What is expected to contact the lower wall? | Product-specific protection evidence and corner/termination details |
| Frequently cleaned surface | Which cleaners and methods are permitted? | Cleaning instructions for the face, trims and joints |
| Splash-exposed position | Does the system cover this particular exposure? | Instructions covering backing, seams, edges and penetrations |
| Room where sound absorption matters | Is there a matching report for the proposed installation? | Acoustic report naming the panel, backing and mounting |
| Wall carrying a shelf or television | What supports the fixture independently of the decoration? | A fixing design appropriate to the fixture and supporting wall |
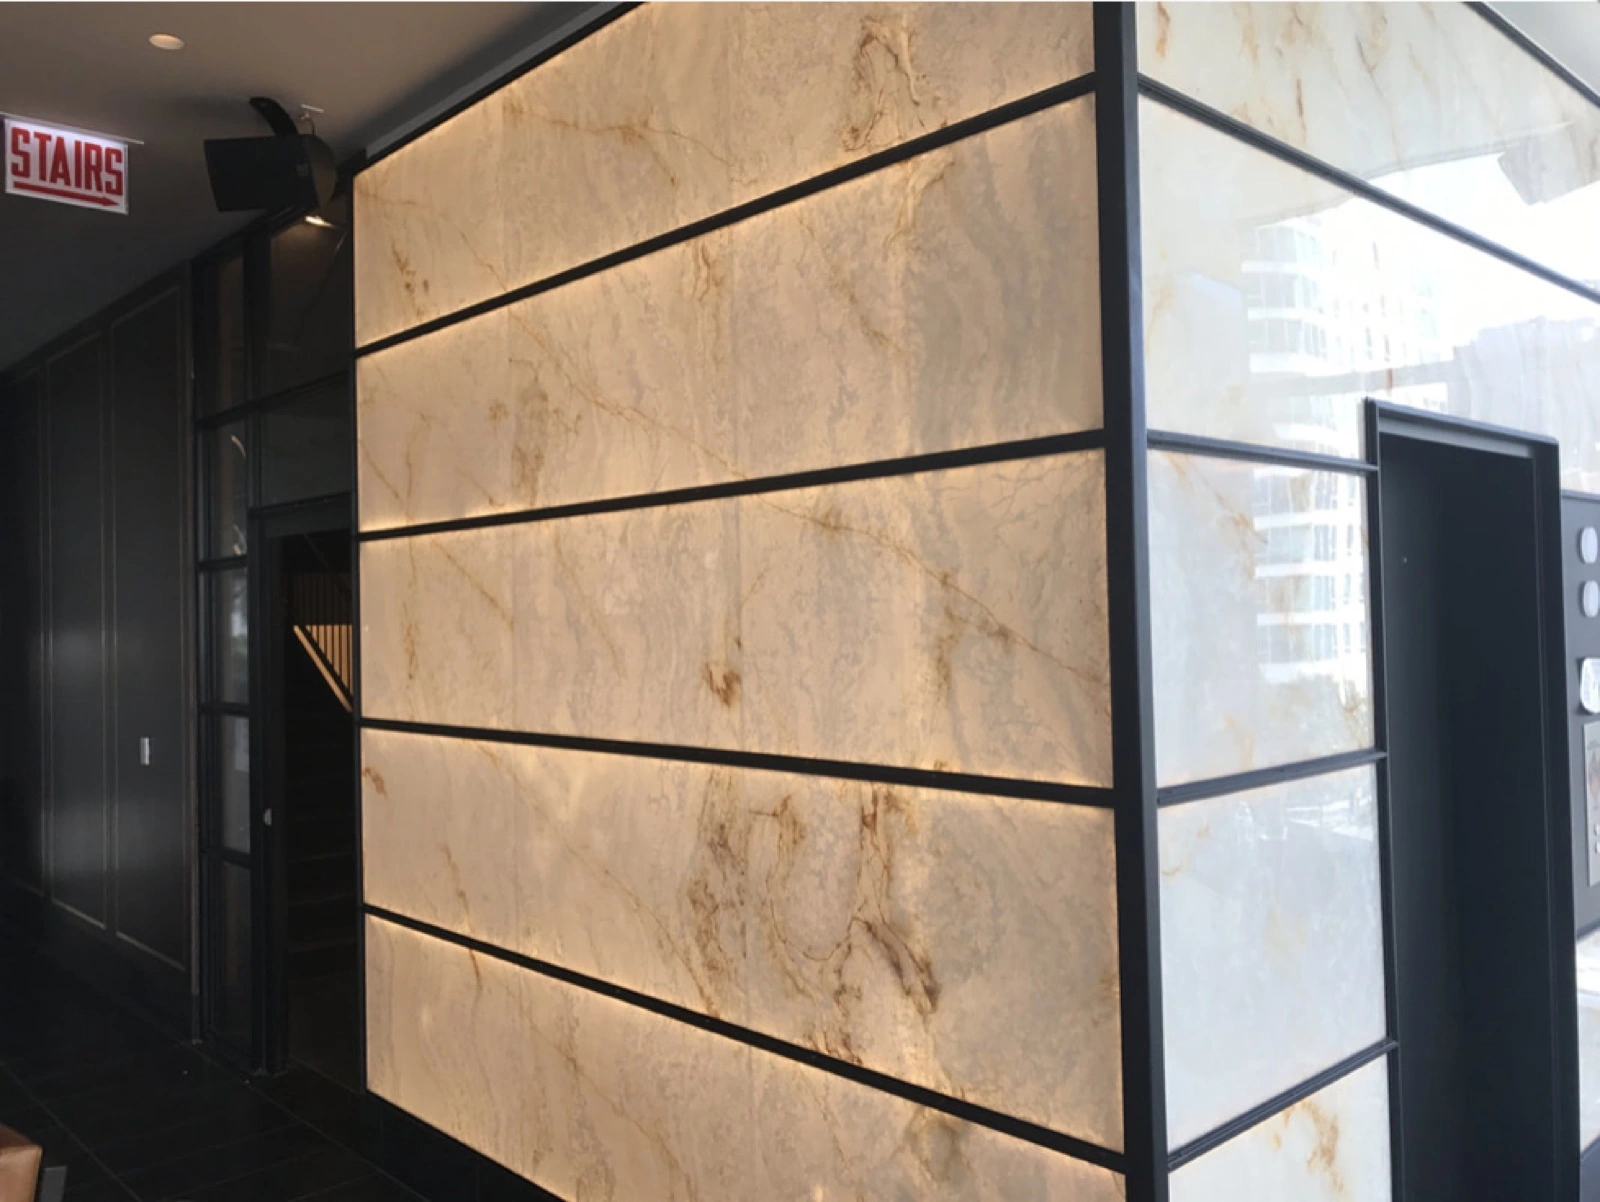
A photograph can help choose an appearance. For a flexible mineral-faced candidate, the flexible-stone-veneer guide explains why the actual product evidence still matters. If you want a different mineral format, start with the natural-stone-veneer guide rather than judging it by a similar surface pattern.
Takeaway: Turn the room’s use into a document request, then use the sample to settle the appearance.
What do fire and composite-wood documents tell you?
Keep fire documentation and composite-wood emission documentation separate. They address different properties, and neither answers the other question. For fire, distinguish the exposed finish’s surface behavior from the wall’s resistance to fire exposure. For composite wood, identify whether the product contains a category covered by the EPA rule.
ASTM E84’s public scope describes comparative surface-burning behavior and reporting of flame-spread and smoke-developed indices. It does not make a material noncombustible on the flame-spread index alone. ASTM E119 addresses fire exposure of building elements and assemblies; changing their construction can affect the result.
Common mistake: Reading “Class A” on a panel listing as a fire-resistance rating for the finished partition. Ask for the matching surface-burning report and separately identify any required wall-assembly design.
For a US project, have the responsible designer or authority identify the adopted code, occupancy/location requirements and acceptable evidence. Record the product, thickness, face treatment, backing and mounting described in the report; ask how the proposed installation matches. Do not assume another country’s classification answers that request.
For covered composite wood, EPA identifies hardwood plywood, MDF, including thin MDF, and particleboard. Its consumer guidance explains TSCA Title VI labeling. Ask for applicable identification and documentation when the decorative product contains a covered panel. A compliant label addresses the regulated formaldehyde requirements; it is not a claim of zero emissions from the whole installed room.
Takeaway: Check the requested property against the matching document and installation, not against a marketing label alone.
What should you check for sheets and wainscoting?
Treat a sheet size as a layout input, not a promise of a seam-free wall. Using the nominal 4 × 8 ft sheet format shown in the cited gypsum guide, a rectangle has a gross area of 32 ft² by multiplication; that is a geometry check using the stated dimensions, not an order quantity or the net coverage of every product sold as “4x8.”
Draw the actual wall elevation and mark openings, edge trims, joint positions and the intended pattern direction. Ask the supplier for actual dimensions and usable coverage. A groove, interlocking edge or trimmed perimeter may affect the layout; establish those details for the selected sheet rather than assigning a generic waste percentage.
For wainscoting, the term describes lower-wall coverage. Decide where it ends and how that transition meets door casings, corners and the existing upper-wall finish. For full-height sheets, check the joint arrangement across the whole wall. For slats or boards, check the rhythm of the final piece at each edge before ordering.
Scroll horizontally to view all columns.
| Layout decision | What to put on the elevation |
|---|---|
| Pattern direction | The proposed grain, groove or slat direction |
| Joints | Positions and the selected seam or reveal detail |
| Perimeter | Skirting, top termination and edge trims |
| Openings | Door/window edges and service cutouts |
| Replacement | Which section could be removed and how |
Common mistake: Dividing wall area by gross sheet area and calling the answer a shopping list. Check the cutting layout and usable coverage before agreeing on quantities.
Takeaway: Approve a joint-and-edge layout, then calculate the order from the actual product dimensions.
Which factors change the installed cost?
Compare the same wall and finish scope rather than choosing the lowest panel-only number. Use the table to ask what is included in each proposal. It is a planning checklist, not a price estimate, a ranking of cheap materials or a claim that one material always costs less.
Scroll horizontally to view all columns.
| Scope item | What makes proposals comparable |
|---|---|
| Existing-wall work | Retained layers, repairs, removal and preparation explicitly named |
| Backing or support | Any new board, battens, rails or other support included |
| Facing quantity | Actual product and cutting layout, with offcuts accounted for |
| Fixing and bonding | Specified fasteners, adhesives and associated preparation included |
| Joints and edges | Corners, trims, reveals and cut-edge finishing listed |
| Surface finishing | Factory finish or site painting/staining described |
| Site work | Access, handling, protection, cleanup and disposal assigned |
| Future access or repair | Proposed replacement method and maintenance instructions available |

The porcelain-versus-natural-stone comparison expands the format and maintenance questions for those two materials. Keep the interior wall and its actual finish scope as the basis of this comparison; an exterior installed-cost example is not an interior quote.
Takeaway: Obtain a complete, matched scope before judging whether a sheet, plank or mineral facing is economical.
When this does not apply
This shortlist is for choosing an interior finish, not for designing a wall assembly. Stop the finish comparison where the backing, exposure or required construction has not been established. Resolving that issue first is more useful than adding another attractive material to the shortlist.
- A damp or damaged wall: establish the cause and repair scope before covering it. The cited rigid-sheet manufacturer warns against excessive moisture behind its sheet products; a cleanable face does not settle that problem.
- A shower enclosure or continuously wet position: use a system expressly documented for the exposure, including seams, backing and penetrations.
- A fire-resisting partition or a change to required wall layers: have the proposed build-up checked against the applicable assembly/design requirements.
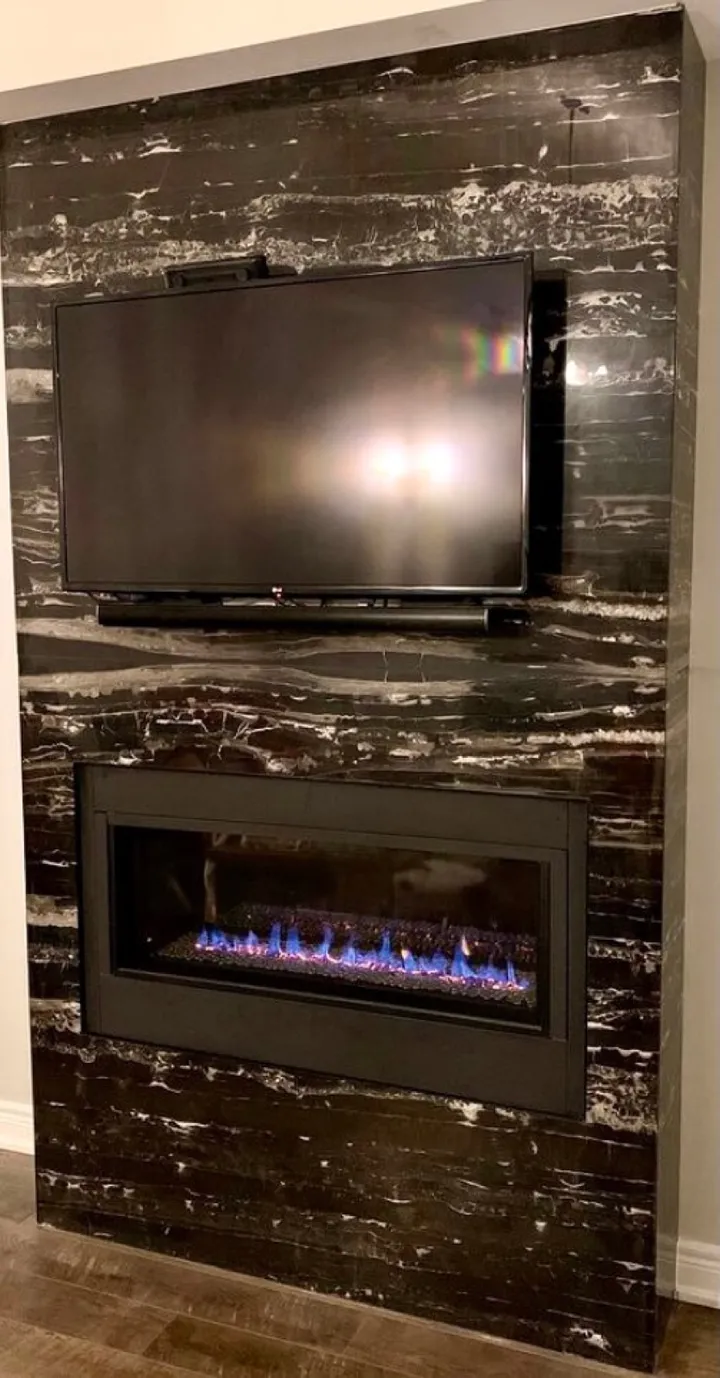
- A fireplace, stove or other heat source: obtain the appliance and wall-system requirements before treating a decorative sample as suitable.
- A heavy facing or wall-mounted load: obtain the necessary support and fixture details.
- Outdoor use: continue with the exterior-wall material guide; interior instructions do not establish weather-exposure suitability.
Takeaway: Resolve the wall-system question before asking which decorative finish to buy.
What should you record before ordering?
Leave the selection stage with a product-and-wall record rather than a screenshot of a room. The checklist below gives the installer and supplier a common description of the proposed work. Keep unresolved items visible so a substitution does not quietly change the backing, attachment route or documents you relied on.
- Name the room, wall position and intended cleaning/exposure.
- Describe the existing wall and the layers to retain, repair or remove.
- Record the exact facing product, face, core, finish and actual format.
- Identify its installation document and the accepted backing/support route.
- Mark joints, corners, openings and transitions on the wall elevation.
- Keep matching fire and composite-wood documents where applicable.
- Compare proposals against the same preparation, fixing and finishing scope.
- Resolve how a damaged section would be accessed or replaced.
Browse the building-materials index for the broader set of guides. The wall-cladding materials hub connects the individual material guides. Return to it with these inputs if you need to compare another facing category.
Takeaway: Order against an identified product, a defined wall build-up and an agreed installation scope.
Method and sources
This guide separates product descriptions, installation instructions and test scopes, then turns them into selection questions. Manufacturer examples apply to their documented systems. They do not establish universal backing rules, category-wide performance or approval for a particular project. The sources below support the distinctions; the tables organize what to check for your wall.
The nominal sheet-area calculation is geometry, with no allowance for cuts, joints or usable coverage. No price survey, product trial or project inspection underlies this guide. Photos show appearance and format only; the illustrations do not prove a construction detail.
Frequently asked questions
Does wood paneling go over drywall?
It can where the selected product instructions permit it. Ask whether the proposed attachment bonds to the board surface or passes through it to a support; those are different proposals. See the backing-and-fixing section before accepting either.
What is the cheapest interior wall cladding?
No category can be named cheapest from the evidence here. First put competing quotes on the same basis: a pack price, a sheet price and an installed-area price are different units. Then compare the matched installation scope described above.
What is the cheapest way to cover interior walls?
For an existing wall, first ask whether repair and repainting can meet the brief. Then compare that scope with an added facing, including edge details and future access. Reusing a sound wall is an option to price, not a guaranteed saving or a reason to conceal damage.
Is panelling outdated in 2026?
That is a design preference rather than a performance test. Judge a sample against the room's light, furniture and intended character. For a durable decision, also check the product's documented exposure, attachment, cleaning instructions and whether a damaged section can be replaced.
Can you paint wall panels?
Check the instructions for the exact face and existing finish before specifying paint. Ask whether repainting is permitted, what preparation and coating system the supplier accepts, and how a painted surface should be cleaned. A wood-grain appearance does not identify a paintable substrate.
What are the downsides of bathroom wall panels?
Ask how seams, cut edges and penetrations are detailed, how the backing is inspected, and what happens when a section needs replacement. Those questions expose limitations that a face sample cannot show. Use the selected system's wet-area instructions rather than a generic decorative-panel method.
Sources
- Gypsum panel installation and finishing guide, J371 — USG Accessed October 9, 2026.
- ASTM E84 — Surface Burning Characteristics of Building Materials, public scope — ASTM International Accessed October 9, 2026.
- ASTM E119 — Fire Tests of Building Construction and Materials, public scope — ASTM International Accessed October 9, 2026.
- Consumer questions about formaldehyde standards for composite wood products — US Environmental Protection Agency Accessed October 9, 2026.
- Interior timber cladding preparation and fixing guidance — Cladco Accessed October 9, 2026.
- Interior compact HPL wall-lining guide specification, version 2, March 2021 — Fundermax Accessed October 9, 2026.
- Interior wall cladding — backing types and limits of rigid sheet protection — Inpro Accessed October 9, 2026.