Closing a laminate gap before finding why it opened can leave the underlying installation problem unresolved. Map the symptom, identify the product, then ask the installer to check joint engagement, fixed restraints and the support beneath the floor. A visible gap or ridge does not establish which mechanism caused it.
For other material families, use the materials guide index. This guide covers floating, wood-based laminate with open joints, raised areas or movement underfoot. It provides an inspection sequence and a printable room map and record. If the floor is vinyl, first establish its construction using our vinyl flooring formats guide and vinyl and laminate comparison. If water or dampness is involved, also use the flooring moisture investigation guide; that question needs its own evidence.
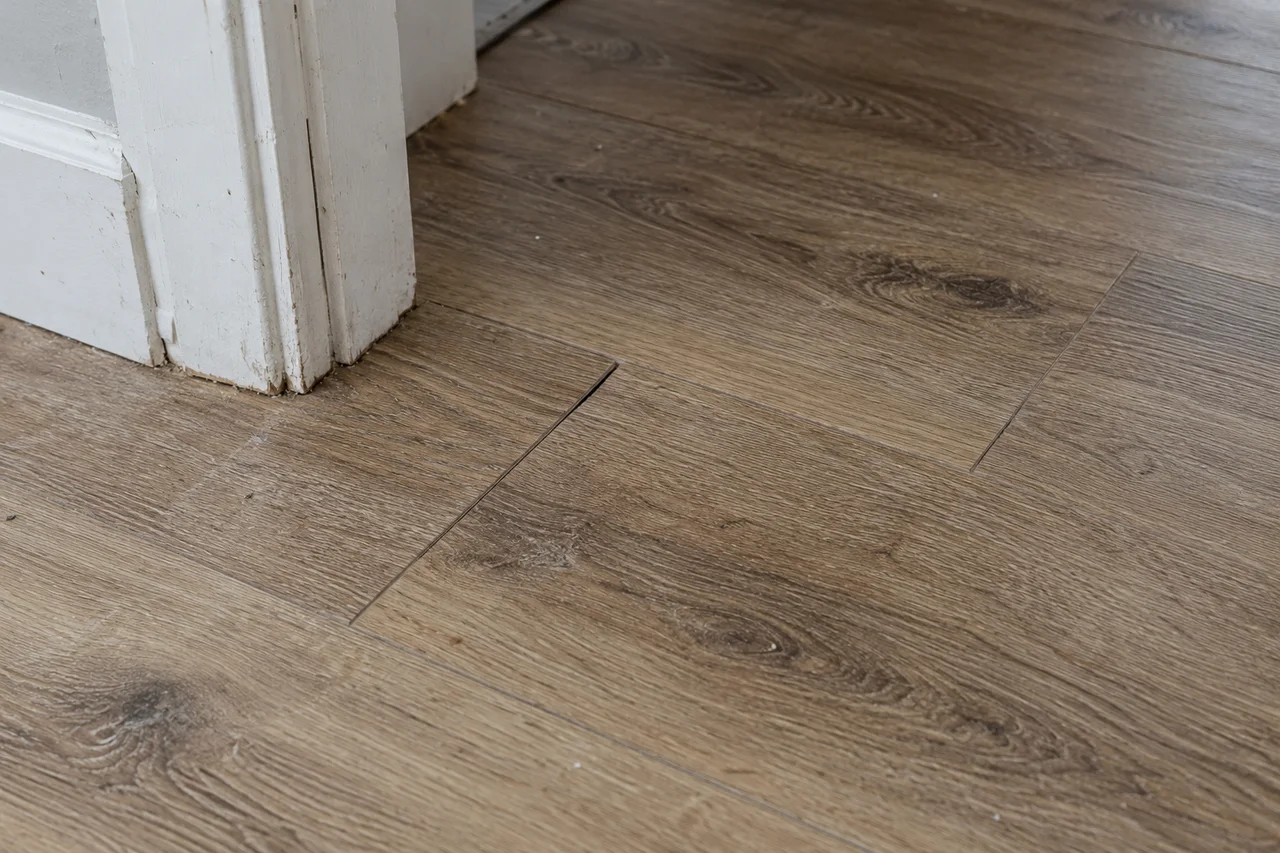
Describe the symptom before choosing a repair
Give each affected location a letter on a room sketch. Mark the walls, doorways, thresholds, pipes and fixed cabinets around it. Photograph the room, the affected area and the joint detail, keeping the same location letter in your notes. Record when the change appeared and whether it varies with normal use or season.
The following is our way of organising the investigation, rather than a diagnostic test. More than one branch may remain open.
On a narrow screen, swipe the tables to see all columns.
Scroll horizontally to view all columns.
| What you observe | What to record on the map | What to ask the installer to investigate | What appearance alone cannot establish |
|---|---|---|---|
| Open end or long-side joint | Which edge is open; isolated joint or repeating pattern; nearby doorway or fixed object | Whether the actual locking profile is engaged and intact, alongside restraint and support checks | A broken lock, or permission to hammer the boards together |
| Raised joint or broader lifted area | Whether only the edges rise or a wider area arches; distance from walls and transitions | Clearances and possible restraints, plus joint and substrate condition | Whether trimming an edge will resolve it |
| Local movement or clicking underfoot | Exact location, extent and when it happens during normal walking | Subfloor geometry, underlay specification and joint condition | Which layer is moving or whether the substrate meets its limit |
| Swollen-looking edges, staining or a wet event | Timing, extent and nearby water sources | Moisture investigation alongside the mechanical checks | The water source, moisture level or readiness for replacement |
Avoid repeated loading or striking the area to make a video. A short record of what occurs in normal use is enough to explain the observation. Keep a raised or unstable area out of normal traffic while arranging inspection.
Check the product and possible restraints first
Find the carton label, invoice or spare plank reference. Ask the supplier for the installation instructions and warranty that apply to that product, territory and purchase. Record whether the floor has an attached pad and which separate underlay, if any, was installed. If identification is incomplete, enter Unknown / verify on the unit in the record.
Quick-Step Studio’s US instructions describe a floating installation whose movement must not be constrained by glue, fasteners, hardware or other fixed obstructions. That gives the installer a useful question: where might this particular floor be held? It does not prove that a nearby cabinet or threshold caused the symptom.
Ask for checks at the wall perimeter, under door frames, around pipes and fixed objects, and at transition hardware. Photograph visible details without removing fittings yourself. A finished trim can conceal the interface that needs inspection; mark it as concealed until the installer has access.
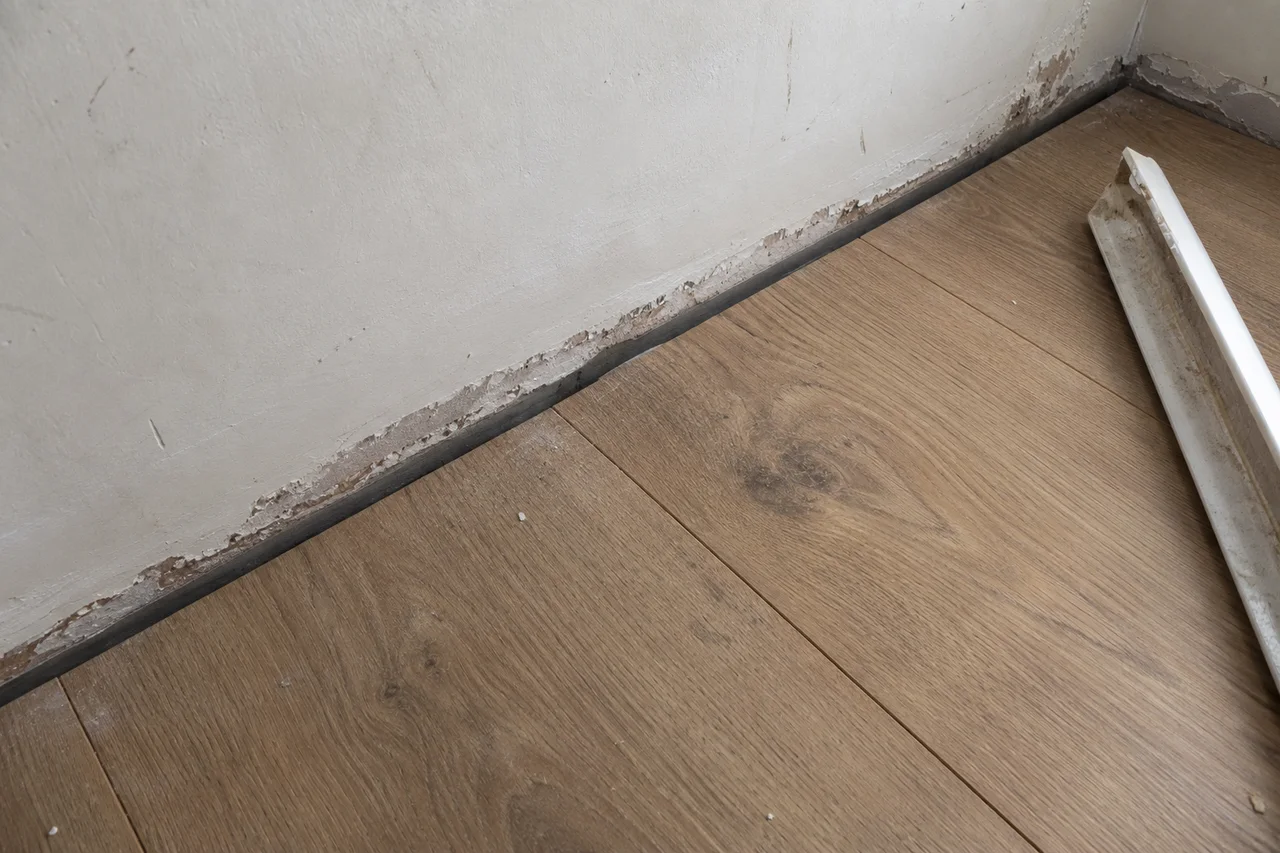
Check the specified perimeter assembly as well as the space. The Studio document includes a particular compressible backer-rod and silicone sealing detail or specified waterproof trim. Finding sealant is therefore not sufficient reason to remove it. Ask whether the installed detail matches the product instructions and allows the intended movement.
Separate subfloor geometry from joint engagement
Next, ask what evidence exists for the substrate before installation. NALFA’s FAQ calls for a prepared, suitable subfloor and describes underlay as supporting the locking system. The actual floor instructions are needed to judge its flatness and pad arrangement.
A flatness check asks about departures beneath a straightedge over a stated span. A level reading alone does not document that. Record the straightedge length, direction, location and measured deviation, together with the product’s acceptance requirement. A check on top of the finished planks cannot establish the flatness of a concealed substrate; access may need to be planned by the installer.
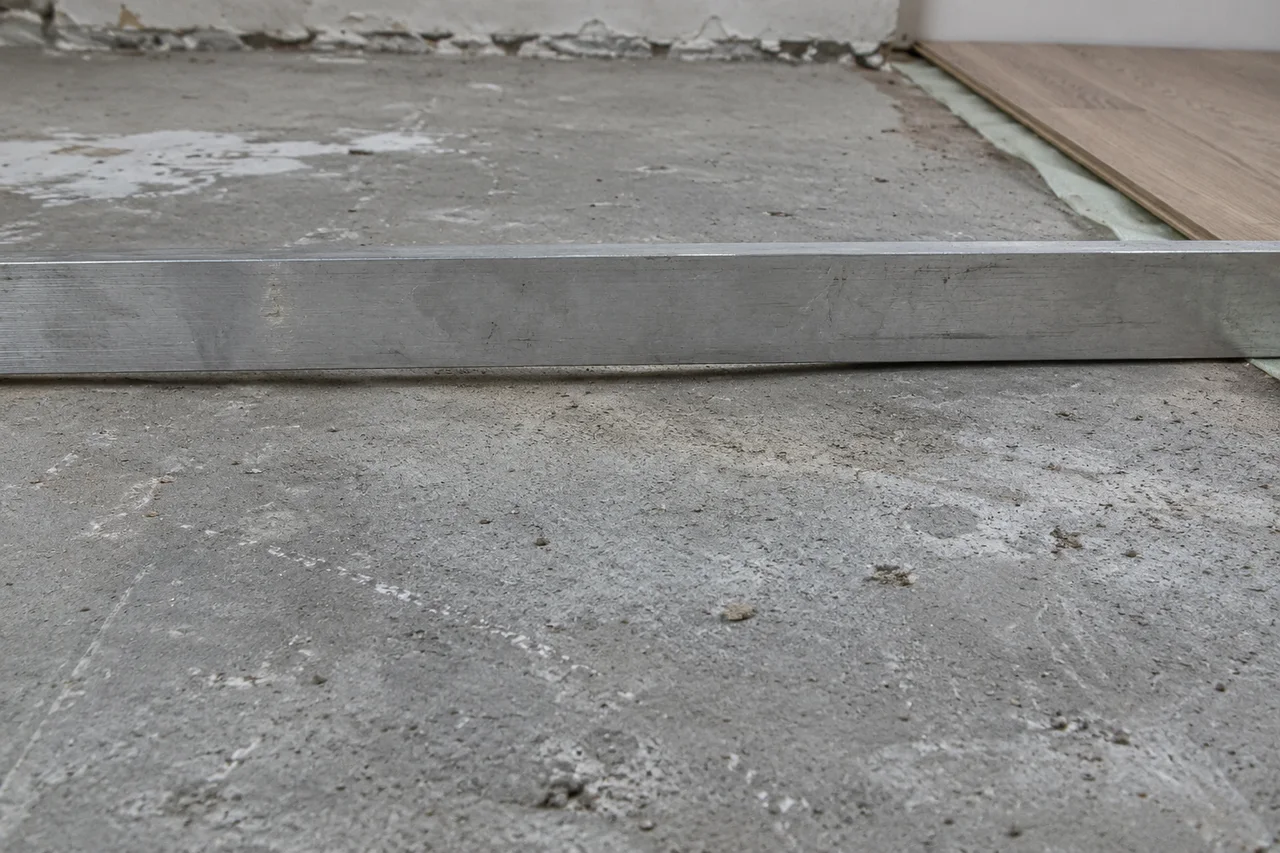
Keep the support and locking questions separate in the findings. Have the installer identify the underlay and inspect the actual joint profile where access is justified. Ask them to distinguish an incompletely engaged joint from a damaged one, and to explain the evidence. A face photograph cannot settle that distinction.
Do not use extra cushioning, injected adhesive or a generic hammering method as a substitute for these checks. The Studio instructions warn that uneven tapping or excessive force can damage a joint. Any reassembly or replacement method must come from the instructions for the installed locking system.
What a US product manual tells you to verify
The table illustrates how to turn written requirements into inspection questions. These are Quick-Step Studio examples from document code 2021_0326_QS_LOW_INST, not limits for every laminate floor or proof that this document applies to your installation. Obtain the applicable version from the supplier.
Scroll horizontally to view all columns.
| Studio document clause | Product-specific requirement in the document | Inspection question |
|---|---|---|
| Site Requirements, p. 1 | T-moldings at doorways 4 ft or less and rooms 40 ft or larger in length or width | What are the opening and room dimensions, and which transitions were fitted? |
| Preparation B; installation 6, 11 and 17, pp. 2 and 4 | 3/8-inch expansion space; concealed minimum under frame/base | What clearances are actually present at the marked locations? |
| Preparation C, p. 2 | No more than 3/16-inch unevenness per 10-foot span | Is there a substrate measurement record using that span? |
| Preparation G, p. 2 | Underlay provisions distinguish attached-pad and separate-underlay installations | Which plank/pad combination is present, and is it permitted? |
| Finishing 19, p. 4 | Specified waterproof trim or the stated compressible-rod/silicone perimeter detail | Does the installed finish match the required assembly? |
Keep the measured condition next to its source clause. Leave a result unresolved if the relevant edge is concealed, the substrate was not measured or the product is unidentified. The absence of a record is a reason to investigate, rather than a measured failure.
Make the symptom map and installer record
Use the printable laminate investigation sheet to draw the actual room and complete the record. It includes a room-map grid, a symbol key and fields for the product, symptoms, photographs, document clauses, measurements and proposed action. Print it from your browser or save it as a PDF. The CSV version provides the same investigation fields for a spreadsheet.
On the map, mark D for a doorway, T for a transition, F for a fixed object and P for a pipe. Assign A, B, C to symptom locations. Link each location to its photographs and record row; add actual distances and units where known. The map organises positions, so do not use its grid as a measurement scale.
Scroll horizontally to view all columns.
| Record group | Include | What it lets the installer answer |
|---|---|---|
| Floor identity | Range/reference, pad, underlay, installation date and documents | Which assembly and instructions apply? |
| Symptom location | Map letter, affected joint/area, onset and photograph names | Where should the inspection start? |
| Restraints | Wall, frame, pipe, fixed object and transition details; measured or concealed | Which interfaces have been checked? |
| Support | Substrate, prior preparation records, straightedge span and deviation, pad evidence | What is known about the layers beneath the joint? |
| Findings and action | Observed lock condition, applicable clause, unresolved questions, proposed method | What evidence supports the repair scope? |
For example, a hypothetical entry could read: “A — open end joint beside doorway D; noticed after move-in; photographs A-wide and A-detail; frame clearance concealed; product reference not yet found.” It records an observation and missing information without declaring a damaged lock or an inadequate gap.
Ask the installer to return a written finding that connects each proposed action to the observed condition and applicable product instruction. Before accepting a board replacement, establish how access, matching spares, the locking system and reassembly will be handled. If moisture evidence remains unresolved, continue with the separate moisture record before closing the investigation.
Method and sources
We read the Quick-Step Studio US installation PDF hosted by Lowe’s and NALFA’s public FAQ on 16 October 2026. The Studio PDF carries code 2021_0326_QS_LOW_INST; this article uses its floor instructions, not the later wall-installation section. It is a dated product example, with no claim that it is the current instruction for an unidentified floor. The map, record and check sequence are our editorial organisation of those documents. We did not inspect, install or test a floor, and this guide does not provide a cutting, gluing or lock-repair procedure.
- Quick-Step Studio US installation instructions — floor requirements and preparation on pp. 1–2; joint assembly, clearances and finishing on p. 4.
- NALFA laminate flooring FAQs — suitable substrates and underlay context.
If an installer proposes replacing laminate with porcelain, treat that as a new material and floor-assembly specification. The porcelain slab guide identifies product and format questions; confirm floor suitability rather than transferring a wall-cladding specification.
For replacement planning after the cause is established, the flooring materials checklist helps organise room and product requirements. Our editorial policy and AI use policy explain how assisted content is prepared.
Sources
- Quick-Step Studio Laminate Flooring Installation Instructions, code 2021_0326_QS_LOW_INST, floor instructions pp. 1–5 — Unilin Flooring North America, hosted by Lowe's Accessed October 16, 2026.
- NALFA: Laminate Flooring FAQs and suitable subfloors — North American Laminate Flooring Association Accessed October 16, 2026.