Key takeaways
- Write floating laminate, floating vinyl, glue-down vinyl, or set tile before you order underlayment.
- Quick-Step Studio, sheet 2021_0326_QS_LOW_INST, uses a 3/8 inch expansion space. A 1/4 inch spacer on a general laminate list is a different number.
- Shaw COREtec SPC, revision 11052024, adds named adhesives and a 100 lb roller only for glue-down.
- Tile mortar, grout and movement-joint spacing stay blank. The public TCNA FAQ points to Handbook detail EJ171, which this page did not read.
A laminate installation kit wastes the wrong underlayment when the floor is glue-down vinyl or set tile. Record the system, then copy only the supplies that system’s documents name.
Buy for the system in the room. Quick-Step Studio laminate, sheet code 2021_0326_QS_LOW_INST, read on 11 October 2026, is a floating floor and calls for a 3/8 inch expansion space on all sides. Shaw’s COREtec SPC guidelines, revision line 11052024, read the same day, allow floating or glue-down and set a 1/4 inch perimeter gap where the area is under 2,500 square feet, and a 1/2 inch gap where it is larger. The Tile Council of North America’s public Placement FAQ, also read that day, says every tile installation needs room to move and points to Handbook detail EJ171 for where those joints go. This page did not read EJ171, so tile spacing, mortar and grout stay blank.
- Write the system before you shop: floating laminate, floating vinyl, glue-down vinyl, or set tile.
- Copy underlayment, vapor film and the gap from that product’s sheet.
- Add adhesive and a roller only when the sheet you are using is glue-down.
- Leave tile mortar, grout and joint spacing empty until those documents are in hand.
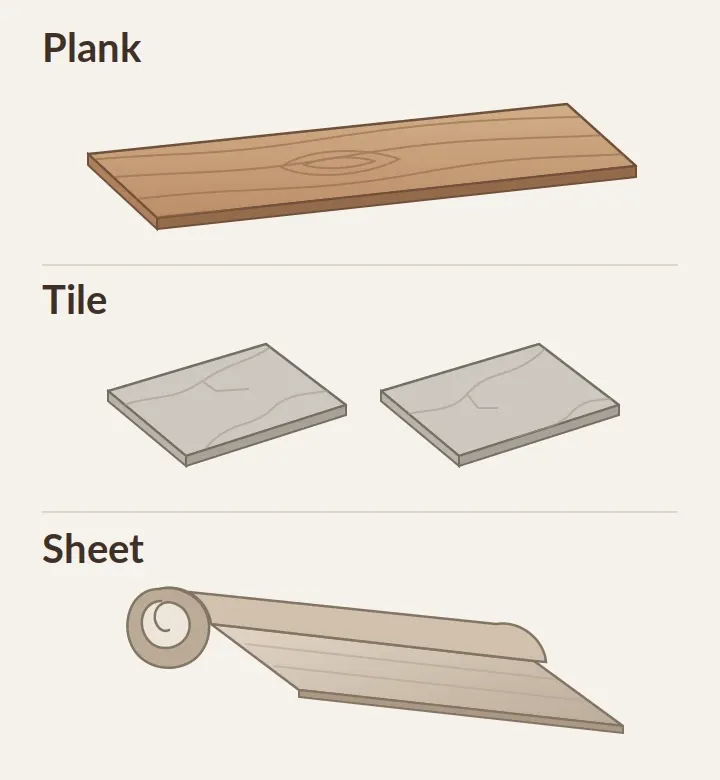
The vinyl format guide separates plank, tile and sheet from the fixing method. A wood-look face does not choose a row on this checklist.
Which system are you buying supplies for?
Four buying paths are on this page. Two are laminate examples, one is a rigid-core vinyl sheet, and one is tile with the spacing document unread. They do not share a kit.
On a narrow screen, swipe the table sideways to read the final column.
Scroll horizontally to view all columns.
| Path | Documents opened | What you can copy | What stays empty |
|---|---|---|---|
| Floating laminate | Quick-Step Studio sheet 2021_0326_QS_LOW_INST; a second laminate PDF at Lowe’s with no product name in the text; Bestlaminate’s tool list of 15 August 2017 | Underlayment rule, vapor film, gap and transitions named in the sheet you will follow | A class-wide coverage rate |
| Floating rigid-core vinyl | Shaw COREtec SPC, revision 11052024 | 6 mil poly for floating over concrete, 1/4 inch spacers in the tool list, trim that is not fastened to the planks | Adhesive and the 100 lb roller |
| Glue-down rigid-core vinyl | The same Shaw sheet | Adhesives 2200, 4200, 200 and 1500, or an equivalent after a bond test, plus a 100 lb three-section roller | A second underlayment chosen for a floating floor |
| Ceramic or porcelain floor tile | TCNA Placement FAQ; INSTALL article of 18 October 2024 | The fact that movement joints are required, and the names of the moisture tests | Joint spacing, mortar, grout and coverage |
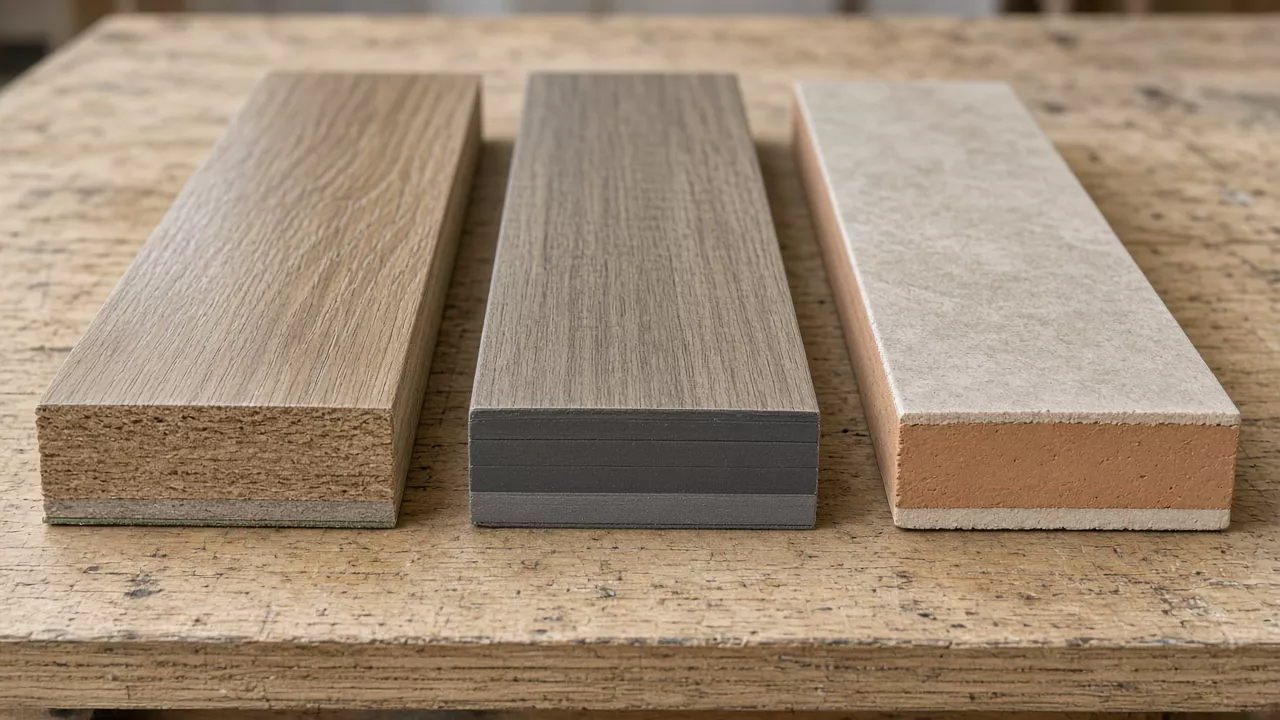
Takeaway: Write the path in the first column before you add a line to the cart.
What does a floating laminate sheet put on the list?
Quick-Step Studio’s sheet is one product. Its numbers do not transfer to the Shaw sheet or to tile.
The floor is floating, and it can go above, on or below grade. The jobsite range printed on the sheet is 35 to 65 percent relative humidity and 60 to 85°F. It says not to install over a floor with a sump pump or in a room with a floor drain. Acclimate the product unopened. If there is no time for that, the sheet limits the difference between storage and the room to 25°F and 20 percent relative humidity.
Subfloor unevenness is limited to 3/16 inch in a 10-foot span, filled with floor leveling compound. For concrete, the sheet wants a moisture test: calcium chloride (ASTM F1869) at or below 5 lb/1000 ft²/24 hr, or below 80 percent relative humidity with an in-situ probe (ASTM F2170). Wood subfloor moisture readings must be at or below 12 percent. Those are this sheet’s limits.
For concrete, install a vapor barrier with seams overlapped 8 inches or more. The sheet also names 6 mil (0.15 mm) virgin polyethylene. Planks without attached underlayment go over a single layer of underlayment appropriate for laminate. For planks that already have attached underlayment, the sheet allows Pergo Gold underlayment, Lowe’s part 670312, if you want it. Seal the foam edges with the tape that product’s instructions require, and do not add a separate vapor barrier with Pergo Gold.
The expansion space is 3/8 inch on all sides. Two spacers, thick side to thick side, make that 3/8 inch. Slide the flooring at least 1/4 inch under the door frame and wall base, and still leave a concealed 3/8 inch minimum under each. T-moldings are required in doorways of 4 ft (1.22 m) or less and in rooms 40 feet (12.2 m) or larger in either direction. Around pipes, leave 3/8 inch. The perimeter is sealed with Simple Solutions waterproof quarter round, Lowe’s item 3674489, or with 100 percent silicone. Where the quarter round is not used, fill the expansion space with 3/8 inch compressible polyethylene foam backer rod and cover it with silicone. Put silicone on the part of a molding or transition that touches the laminate.
A second laminate PDF hosted at Lowe’s, with no product name in the text read on 11 October 2026, is a different sheet. It lists a laminate kit with spacers, a tapping block and a pull bar, premium underlayment when the floor has no attached pad, and a 0.006 inch polyethylene vapor barrier over concrete. It tells you not to install more than one underlayment layer. Acclimation there is at least 48 hours in the closed package, at 60 to 80°F, and the room is held at 35 to 70 percent relative humidity. Its gap is also 3/8 inch, and it uses T-moldings for rooms longer or wider than 40 feet and for openings under 4 feet. Its concrete calcium chloride limit is under 5 lb/1,000 sq ft/24 hours (ASTM 1869), and wood subfloor moisture should not exceed 12 percent. Flatness there is 3/16 inch in 10 feet. Because the product name is not in the text, do not treat that PDF as Quick-Step Studio, and do not treat either sheet as every laminate floor.
Bestlaminate’s list of 15 August 2017 is a retailer tool list, not one of those sheets. It includes underlayment if none is attached, packaging tape, safety glasses, a dust mask, a tape measure, a carpenter’s square, a utility knife, a saw, and a kit whose spacer blocks must be 1/4 inch thick, plus a tapping block and a pull bar. It also lists glue or sealant for kitchens, baths, laundry and other wet-prone rooms, and a 6 mil virgin polyethylene film over concrete when the attached pad has no vapor barrier. A 1/4 inch spacer from that list is not the 3/8 inch space in the Quick-Step Studio sheet.
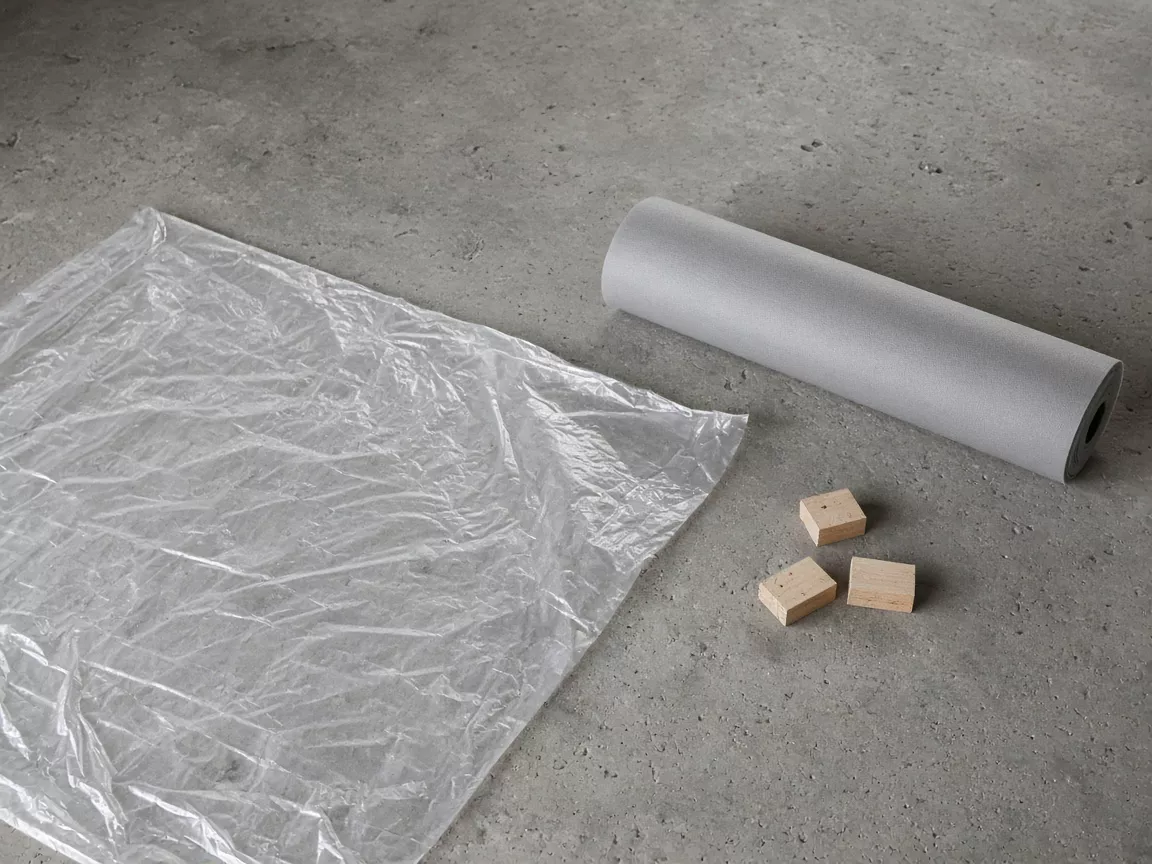
Common mistake: Buying the 1/4 inch spacers from a general laminate list and using them as the 3/8 inch space printed on the Quick-Step Studio sheet.
The vinyl and laminate comparison separates the two cores. A laminate vapor-barrier line does not fill a vinyl order.
Takeaway: Follow the sheet for the carton you will open. Keep the other laminate list as a contrast, not as a substitute.
What does the Shaw SPC sheet add for vinyl?
Shaw’s COREtec SPC guidelines, revision line 11052024, cover one rigid-core product. The vinyl and tile comparison uses the same sheet for a room-level contrast. This page uses it as a buying list.
The sheet allows floating or glue-down, on, above or below grade. It does not require acclimation. Install in a controlled room at 55 to 85°F (13 to 29°C), or an average of 70°F (21.1°C). The tool line names a tape measure, utility knife, jigsaw, tapping block or rubber mallet, pull bar, 1/4 inch spacers, T-square, safety glasses, and a broom or vacuum, plus subfloor-repair tools if you need them.
For floating over concrete, 6 mil poly film is recommended. Run it 2 inches up the wall, overlap the next course at least 4 inches, and tape the seams with clear tape over concrete. An added 6 mil poly film, or a vapor retarder with a perm rating of 0.1 or less, is an optional extra layer of protection. If the subfloor is not cured, the sheet says a moisture barrier such as 6 mil poly should be considered. The installer decides whether the slab is cured.
A second underlayment under a product that already has an attached pad is allowed in residential use, and that second layer cannot be thicker than 3 mm. Crumb-rubber underlayment is rejected. Do not lay sheet plastic over wood subfloors. The same sheet rejects carpet, wood subfloors that lie directly on concrete, and wood floors adhered to concrete.
Glue-down is a different cart. Install into wet adhesive and roll at once with a 100 lb three-section roller. The named adhesives are 2200, 4200, 200 and 1500, or an equivalent after a bond test. Read the adhesive label for that adhesive’s moisture limit. The sheet’s own concrete limits, in one sentence, are 8 lb for ASTM 1869 calcium chloride and 90 percent for ASTM 2170 in-situ relative humidity, with the phrase “per 1000 sq.ft. in 24 hours” in that sentence. Concrete pH is 7 to 10. Those figures belong to this SPC sheet. Quick-Step Studio’s 5 lb and 80 percent limits are a different product.
Perimeter expansion on this Shaw sheet is 1/4 inch for areas under 2,500 square feet and 1/2 inch for larger areas, for floating or glue-down. The floating steps also say 1/4 inch (6.35 mm). Use the rule that matches the area. Do not fasten wall moldings or transition strips to floating planks. If cabinets, including islands, will sit on the floor, that footprint must be fully adhered, plus 2 feet beyond the cabinets. In wet areas such as bathrooms, caulk the perimeter with flexible silicone. The sheet does not describe a shower or a floor drain.
Takeaway: A floating Shaw order can stop at poly, 1/4 inch spacers and unfastened trim. Glue-down adds the adhesive and the 100 lb roller.
What stays blank for ceramic and porcelain tile?
TCNA’s public Placement FAQ, read 11 October 2026, says tile is a facade and needs movement joints because the tile and the substrate expand and contract by different amounts. The Handbook recommends that allowance in every tile installation. In a small room a perimeter gap, often hidden by baseboard or shoe molding, can be enough. In a larger area the joints are visible. TCNA will not state the location or the frequency, because site conditions differ, and it points to Detail EJ171. Interior joints are placed more often where moisture or direct sunlight is expected. This page did not read EJ171, so no spacing, no sealant product and no joint width appear here.
INSTALL’s article of 18 October 2024, by David Gross, says to inspect, test and correct substrate moisture and pH before installation. It names the calcium chloride method, printed there as “ASTM Fl 869” for the F1869 test, and the in-situ relative humidity test ASTM F2170. It says missing the manufacturer’s moisture and pH limits can void that manufacturer’s warranty. For vinyl it lists adhesive failure, telegraphing, bubbling or blistering, and discoloration from high alkalinity. It does not print a tile mortar coverage rate or a grout quantity. Those cells stay empty.
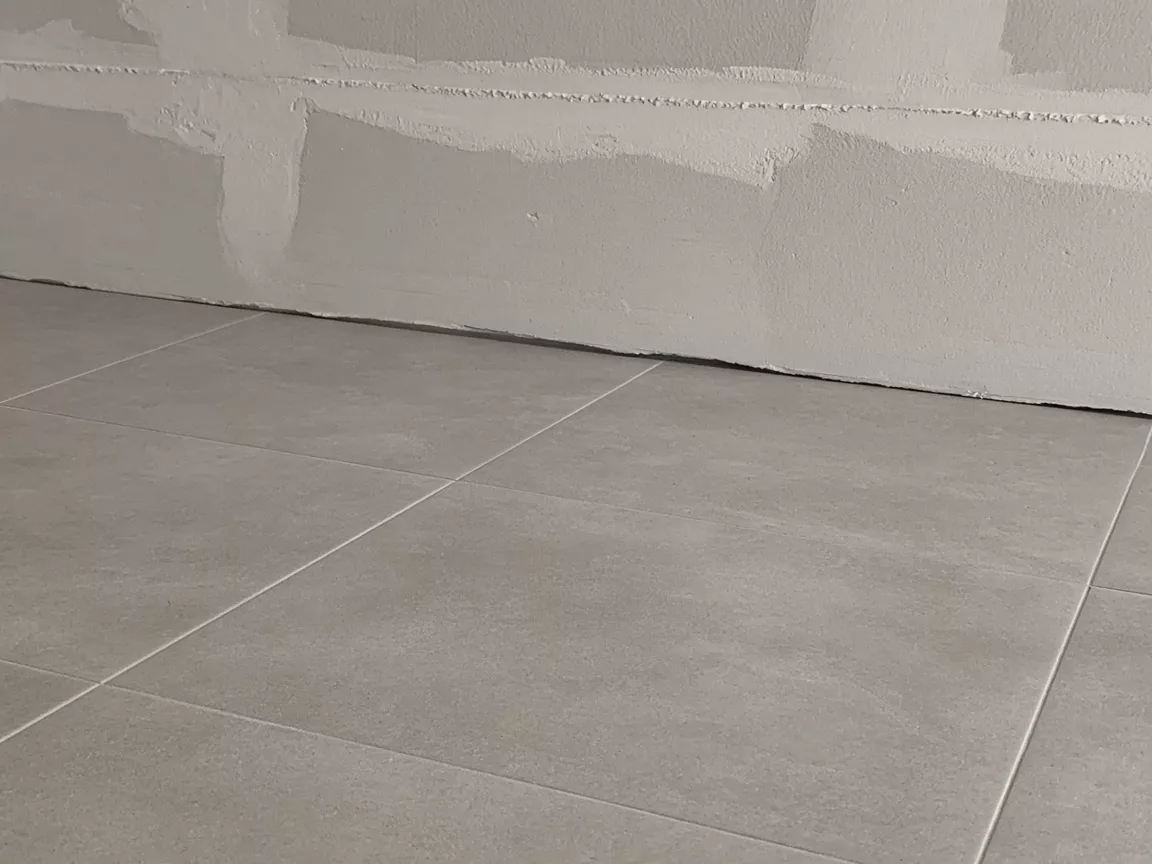
Takeaway: Write “EJ171 not read” in the spacing cell until you have that handbook detail. Do not borrow the Shaw 1/4 inch or the Quick-Step 3/8 inch.
How do you fill one purchasing checklist?
Use one row per supply. An empty cell means the documents opened for this page did not state it. Do not fill it from the neighboring column.
On a narrow screen, swipe the table sideways to read the final column.
Scroll horizontally to view all columns.
| Item | Floating laminate | Rigid-core vinyl | Set tile | Where it came from |
|---|---|---|---|---|
| Flooring | The named plank, mixed from several cartons | SPC planks from several cartons | Product sheets for the first two columns. No tile body was specified | |
| Underlayment | One laminate underlayment if none is attached. Pergo Gold is optional only under Quick-Step Studio planks that already have a pad, and then with no extra vapor film | Second pad only if the product already has one, residential, and not over 3 mm. Crumb rubber rejected | Quick-Step Studio sheet; Shaw revision 11052024 | |
| Vapor film | 6 mil virgin polyethylene on Quick-Step Studio concrete, seams overlapped 8 inches or more. The unnamed PDF says 0.006 inch over concrete | 6 mil poly recommended for floating over concrete. Optional extra film with perm rating 0.1 or less | Those two laminate sheets; Shaw sheet | |
| Perimeter gap | 3/8 inch on the Quick-Step Studio sheet. Bestlaminate’s 2017 list says 1/4 inch spacer blocks | 1/4 inch under 2,500 sq ft; 1/2 inch above that. Tool list also names 1/4 inch spacers | Quick-Step Studio; Bestlaminate; Shaw. Tile spacing was not read | |
| Transitions | T-moldings for doorways of 4 ft or less and rooms of 40 ft or more, on the Quick-Step sheet. Silicone on the molding face that touches the laminate | Wall molding and transition strips, not fastened to floating planks | Quick-Step Studio; Shaw | |
| Adhesive | Glue-down only: 2200, 4200, 200, 1500, or equivalent after a bond test. Floating does not use them | Shaw sheet | ||
| Roller | 100 lb three-section roller, glue-down only | Shaw sheet | ||
| Moisture limit | Quick-Step Studio: at or below 5 lb/1000 ft²/24 hr (ASTM F1869) or below 80 percent RH (ASTM F2170). Wood at or below 12 percent | Shaw SPC: 8 lb ASTM 1869 and 90 percent ASTM 2170, with “per 1000 sq.ft. in 24 hours” in the same sentence. pH 7 to 10 | Test names only: ASTM F1869 and ASTM F2170 | Each limit stays with its sheet. INSTALL names the tests and does not set a tile number |
| Mortar, grout, coverage | Not in the documents read | |||
| Movement-joint spacing | TCNA public FAQ points to EJ171. EJ171 was not read | |||
| Old resilient flooring and cutback adhesive | Remove carpet and padding. Remove wood flooring installed on concrete. The rest of that removal line was cut off in the text read | Shaw warns that sanding, dry sweeping, drilling or pulverizing existing resilient flooring, backing, or cutback adhesive can release asbestos or crystalline silica | Quick-Step Studio; Shaw warning. This page gives no removal steps |
Compare the filled row with the carton in front of you. If the carton is a different laminate or a different vinyl, replace the example with that carton’s sheet and clear the cells the new sheet does not repeat.
Takeaway: An empty cell is a stop. Order that line only after the matching document names it.
When this does not apply
Stop and use a different document when any of these is true:
- The finish is a wall or a facade. A porcelain slab used as cladding is a different assembly. Start with the porcelain slab guide.
- The room has a sump pump or a floor drain. The Quick-Step Studio sheet excludes both. The Shaw sheet’s bathroom note is perimeter silicone, not a shower.
- You need to remove old resilient flooring or cutback adhesive. The Shaw sheet gives a warning, not a procedure.
- A gap, a moisture number or an underlayment rule from one column is being copied into another. Quick-Step Studio’s 5 lb limit and Shaw’s 8 lb limit are different sheets.
- The tile area is exterior. TCNA says the summer-to-winter temperature range has to be considered there. This checklist is an interior floor list.
Method and sources
Laminate figures for Quick-Step Studio come from the installation sheet coded 2021_0326_QS_LOW_INST, read on 11 October 2026. The second laminate PDF is the file hosted at Lowe’s and read the same day. Its text, as extracted, does not print a product name, so it is an example of another sheet, not a brand claim. Bestlaminate’s tool list is dated 15 August 2017 on that page. Vinyl figures come from Shaw Industries’ COREtec SPC guidelines, revision line 11052024. Tile movement statements come from TCNA’s public Placement FAQ. Handbook detail EJ171 was not read. Moisture-test names and the vinyl failure list come from INSTALL’s 18 October 2024 article. Manufacturer and association pages are not a building code. The instructions in the carton you buy take precedence.
No product named here is endorsed or ranked. We did not test or install any floor.
Sources
- Quick-Step Studio laminate installation instructions, sheet code 2021_0326_QS_LOW_INST — Quick-Step Accessed October 11, 2026.
- Laminate flooring installation guide hosted at Lowe's, product name not printed in the text read — Lowe's Accessed October 11, 2026.
- Laminate Flooring Tools and Supplies Needed for Installation, 15 August 2017 — Bestlaminate Accessed October 11, 2026.
- COREtec SPC installation guidelines, revision line 11052024 — Shaw Industries Accessed October 11, 2026.
- Placement FAQ: where movement joints should be placed — Tile Council of North America (TCNA) Accessed October 11, 2026.
- Preventing Flooring Failures, 18 October 2024 — INSTALL Floorcovering Professionals Accessed October 11, 2026.